 Connect with Google
 Connect with Facebook
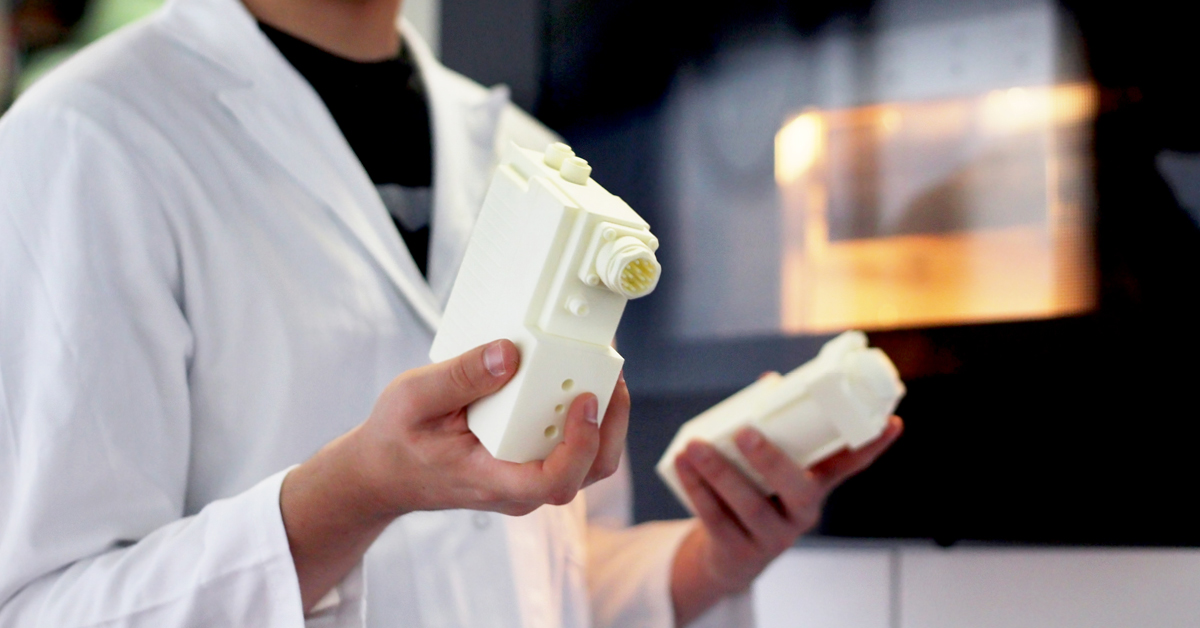
Tips: Painting and Refinishing your 3D Printed Polyamide Model
Posted By Arthur Cassaignau on Jul 17, 2014 | 2 comments
You created your 3D models with your favorite CAD software. You can then upload you design for 3D printing. Hit the 3D print button on Sculpteo.com and ordered a 3D printed part with a specific 3D printing material: in polyamide. Now you just received your 3D models at home and you want to postprocess your 3D prints. Here are a few DIY tips to refinish your polyamide model and particularly to solve two big questions: how to attach and paint your multi-part 3D printed polyamide objects? Let’s see how you could handle a finish process of your 3D prints by yourself. 3D printing is amazing to create custom-made parts, but you can also customize these parts using your own 3D printing finishes. What is the best finishing technique for your project? Let’s find out.
Refinishing your 3D printed polyamide: How to attach your 3D printed parts before painting
Refinishing your 3D printed polyamide: How to paint your 3D printed objects
Refinishing your 3D printed polyamide: How to attach your 3D printed parts before painting
A time may come when you need to print your 3D design in more than one piece. This may be because your object was too big for the 3D printer to handle in one batch, or perhaps you anticipated painting your object, and printing it in more than one piece made for an easier paint job. Regardless of the situation, if it arises you’ll need to attach the separated elements.
To effectively attach separated elements the different pieces must be clean, dry, and polished. The surfaces to be attached cannot be painted or varnished.
Required Materials

Photo 1: Required Materials
– 1 modeling knife (X-Acto or equivalent)*
– 1 bottle of liquid LOCTITE superglue** (no gel glues)
– 1 tube of Araldite** glue
– 1 cotton swab
– 1 wooden toothpick
– a few clothespins or similar pinching tools
Preparation
First, it’s important to refine the small imperfections that may not have been completely polished when the objects were printed. This can be done with the X-Acto knife. You can also order polished printed models, with a smooth surface and no layer lines. But to reduce costs, you can totally do it by yourself.
Also if you have painted the hard-to-reach places before starting to glue, it is important to scrape the paint that may have escaped to the surface of the print that will be glued with the blade’s edge.

Photo 2 Two unpainted helmets; right helmet scraped for gluing
Polyamide objects are extremely porous and “drink” the LOCTITE liquid glue – it’s important to saturate the areas that will be attached with glue before attaching them to ensure there will be enough glue when the objects are finally assembled.
Begin Gluing
After the base coat of glue has dried (about 5 minutes), another coat of the LOCTITE liquid glue can be placed on both sides to be attached. With both sides glued, place the object in its desired position and hold it there for 1-2 minutes. Plan ahead and do not leave your hands in an awkward position – the more the objects move during the glue’s drying process, the higher the chance they will not be fully stuck together.
Using the toothpick and a moist cotton swab, you can eliminate excess glue from around the junctions of the objects.

Photo 3 Removing excess glue with a toothpick.
For larger pieces with wider planes to be glued, use the Araldite glue to adhere the different parts, and, instead of using your hands to keep the parts together, use clothespins.
If the joint between the parts is still loose after the first round of glue, it is possible to reinforce the junction by adding one or two splotches of glue around it. The excess glue can again be removed using the toothpick and moist cotton swab.

Photo 3.1 Adding extra liquid glue to the fragile juncture.
Tip: During the conception of the model it is important to plan ahead to make the gluing process easier – large flat surfaces that are easy to reach will greatly simplify your work. Interlocking grooves or a mortice and tenon can make for even simpler and exact gluing, as there is more surface contact between the various surfaces when using those design features.

Photo 4 Samurai hat assembly using a tenon and mortise: the hole allows for exact fixing of the decorative horns

Photo 5 The ridge atop this Greek helmet aligns perfectly with a groove in the decorative feathers.
*Available in most art stores
**Available superstores and hardware stores
***Available in hobby stores (Games Workshop, etc.)
Refinishing your 3D printed polyamide: How to paint your 3D printed objects
Polyamide objects are perfect for painting; there are just a couple of rules to respect in order to make sure your paint is both aesthetically pleasing and durable. In this tutorial we work with pieces at a 1/16th scale.
Before painting your printed models, make sure they are clean, dry, and smooth. We recommend working with our polished white polyamide for the best results.
Required Materials

Photo 6 Required materials for painting a polyamide piece
– Paintbrushes in sizes ranging from 00 to 5 (debate 000 for even smaller details)
– Acrylic modeling paints (Prince August, Citadel, Tamyia, Pelikan Plaka, Ravell, etc.***)
– 1 painting palette for mixing colors and dilutions (a plastic plate can also work)
– 1 water dropper complete with faucet water
– 1 paper towel, folded in fourths
– 1 sheet of white printer-type paper
– A bit of modeling material: Patafix**, Plastiline*, or Fimo, clothespins, toothpics, etc.
Creating a Support
Instead of holding the piece in your hand while you paint, you can create a support with a bit of Patafix (or equivalent) and a toothpick.
Take a bit of the modeling putty and place it in a place to be painted later (or never), like the inside of a helmet. Then place a toothpick within that putty – this will function as a type of handle for your piece while you paint. When it comes time to dry you can clip the toothpick into a clothespin for easy drying.
Note: Using a support allows you to hold the object with minimal hand fatigue and maximum visibility of the object. It also avoids finger smudgings of the wet paint.
Determining the Base Coat Color
Before painting your piece, you must determine a base color.
A base paint color can usually be determined at a glance. Modeling stores often have a wide range of modeling colors available to help, in both spray and classic paints.
If you’re looking for a specific color, and the paints that correspond with it, there is a free online tool, which can help to determine it – http://scalemodeldb>com/paint. The program takes the stock photo of a model and determines a particular base coat color and paint.
Note: Be sure to match the base coat with the finishing that will follow.
– If you plan on using dry brush techniques for a somewhat brilliant metallic shine, add 10-20% black to your base coat.
– Or, during the opposite case, if you’re going to do multiple washes of your base coat, add 10-20% white.
Finally you can make all visible tints with the three primary colors, white, and black; through a process of mixing and matching.
Applying the Base Coat
Most often, the base coat is either black or white, depending if the resulting object is bright or shadowed – though it is important to have a fixed base color in mind before painting.
– Use a size 5-6 brush, depending on the size and base color of your object.
– Dilute the paint with 50% water (one part water for every part paint)
– Use a small amount of paint on the brush and be sure to cover the entire object. Polyamide is known to “drink” a large portion of the base coat.

Photo 7 Small amount of paint placed as a base coat. *Note the degree to which the polyamide drinks the liquid.
It’s important to cover the entire piece with the base coat, if not you run the risk of small blotches of color that is not uniform.
Also when working with polyamide, leave twice the recommended drying time. This will ensure the object is uniformly saturated with paint.
Apply the Following Layers
Mix your desired paint colors in your palette and drop the excess paint from your brush onto the white piece of paper.

Photos 8 and 9: Removing excess paint from the brush

Photos 8 and 9: Removing excess paint from the brush
To ensure that the paint soaks fully into the object, let the paint dry fully after one to three coats (dry time as recommended by the manufacturer of the paint).
Gold paints have a habit of soaking very poorly into the polyamide and could require up to five coats. Black, on the other hand, soaks very well – we recommended painting the black areas last.
At a 1/16 scale, 00 and 000 sized brushes are fine enough to paint the whites and blacks of a figurines eye.
Always start by painting the center of the object and working your way outward, working from bright paints to darks.
Note 1: Don’t hesitate to dilute your paints and to add more coats – this will avoid losing small details of the object as a result of the paint’s thickness. It is always better to have 4 diluted coats rather than 2 coats that are overly thick.
Note 2: Be sure to respect the dry times recommended by the paint manufacturer and to fully clean your brushes when switching between colors. Also do your best to maintain the point of the brush with water and the paper towel. This will save you money on future brushes and paint jobs.

Photo 10.1 This Greek Shield has a white base coat diluted at 50% and two coats of gold paint around the edges.

Photo 10.2 The blue frieze of the shield received two coats.

Photo 10.3 The scorpion received a single black coat, and is yet well covered.
Realizing Finishes
For a worn/weathered type of finish, you can use the same techniques that are used for the plastic models that you can find in hobby stores.
The dry-brush technique does well to bring out the details of an object and can greatly improve the overall look of the paint job.
To begin, soak an older brush with small and tight bristles in a mix of the desired color and white. Take the brush and remove virtually all of the paint from it on the piece of scrap paper. Then run the brush over object – the embossed or engraved areas of your design will be highlighted with the paint mixture.

Photos 11 and 12 A Greek helmet painted using anthracite gray for metallic parts and clear night blue for the crest. Final touches made by light dry brush strokes using pure white.

Photos 11 and 12 A Greek helmet painted using anthracite gray for metallic parts and clear night blue for the crest. Final touches made by light dry brush strokes using pure white.
Note: To learn more about washes and dry-brushing, there are multiple videos that can help you through the process on YouTube. Here are a couple examples:
www.youtube.com/watch?v=cF1i_kh8GFo&index=10&list=WL
www.youtube.com/watch?v=xYAoOXZ_VOU
www.youtube.com/watch?v=ZfvgnvRu5A4
After finishing your paint job, we recommend varnishing your pieces with an acrylic, matte, satin, or brilliant (PEBEO*) finishing. Acrylic paint is originally matte; to give your object a lacquer-like finish, multiple coats of a brilliant varnish will have the same effect. We hope that you found the best way to finish 3D printed parts by yourself and that you will be satisfied with the final results when you will have all your surfaces finished.
Note: We have chosen to make this tutorial about brush-applied acrylic paints, due to the facility those tools offer for model painting. Oil paints can are not thick enough to cover the object effectively, however they can be used for finer details and finishes, or for clearer washes that may add an extra hint of realism.
Have fun!
*Available in most art stores
**Available superstores and hardware stores
***Available in hobby stores (Games Workshop, etc.)
This 3D printing finishes can be useful for a rapid prototyping process, or even for production, to get a perfect finished product.
If you want more information about additive manufacturing, 3D printing finishes, more design tips for your 3D printing projects, don’t forget to subscribe to our weekly newsletter. Don’t hesitate to make the most of our online 3D printing service, by uploading all your 3D files!